


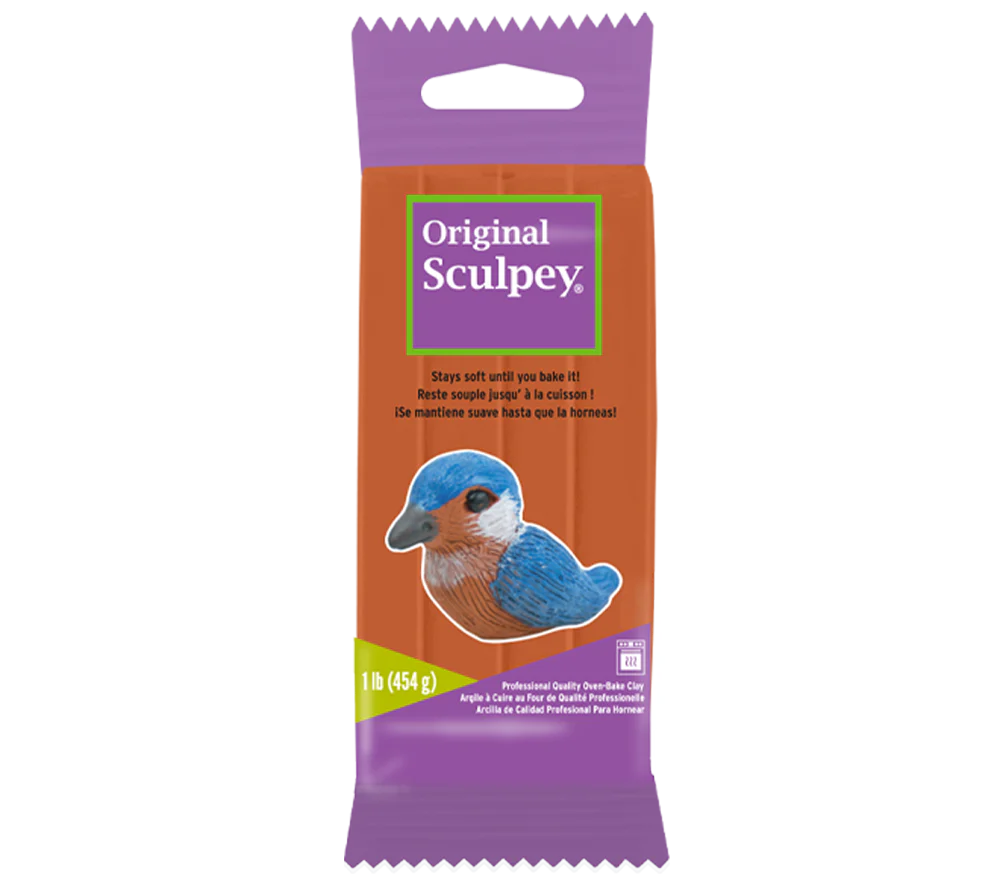

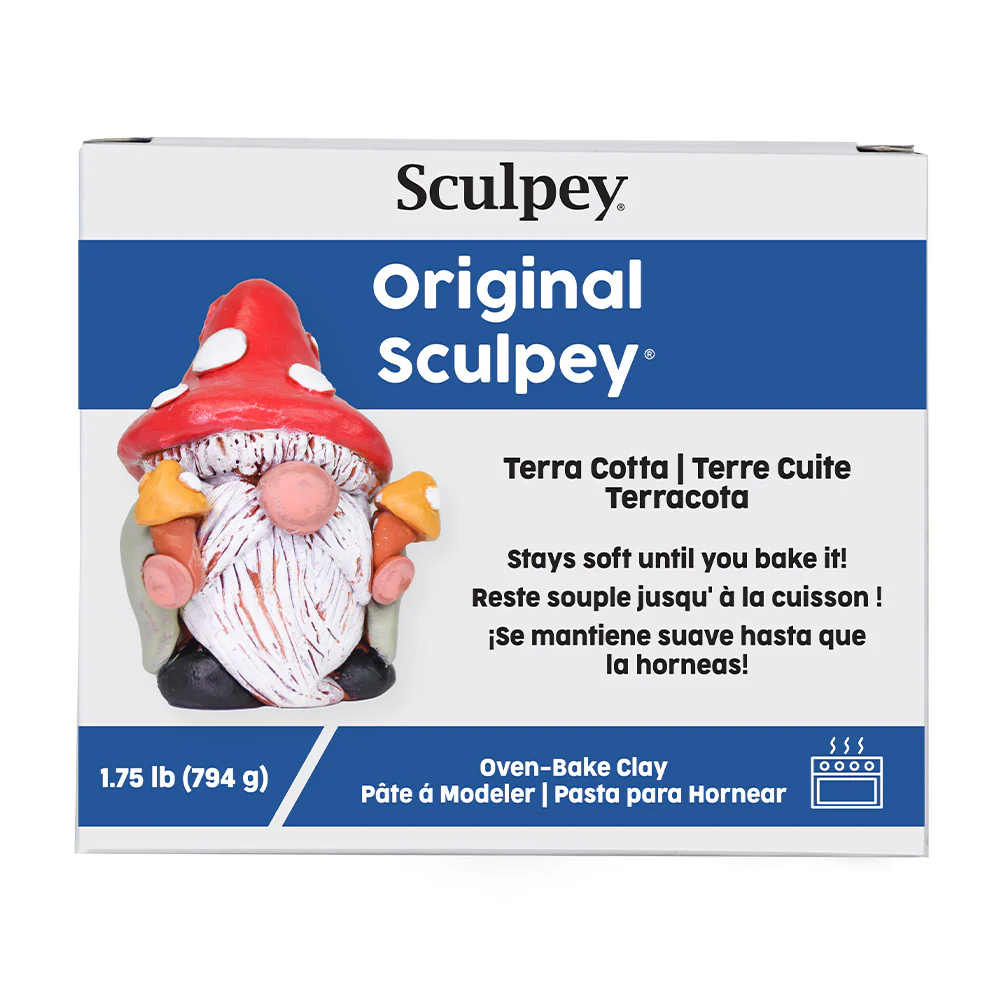

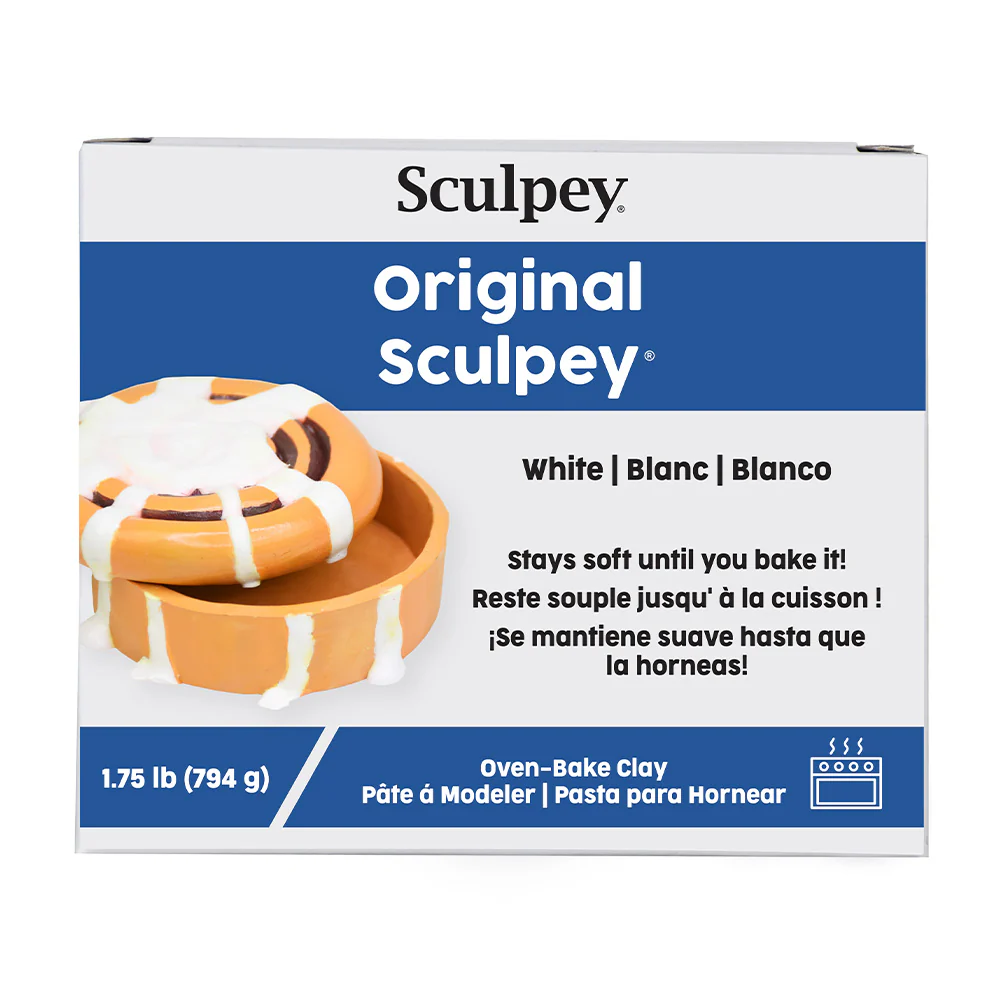


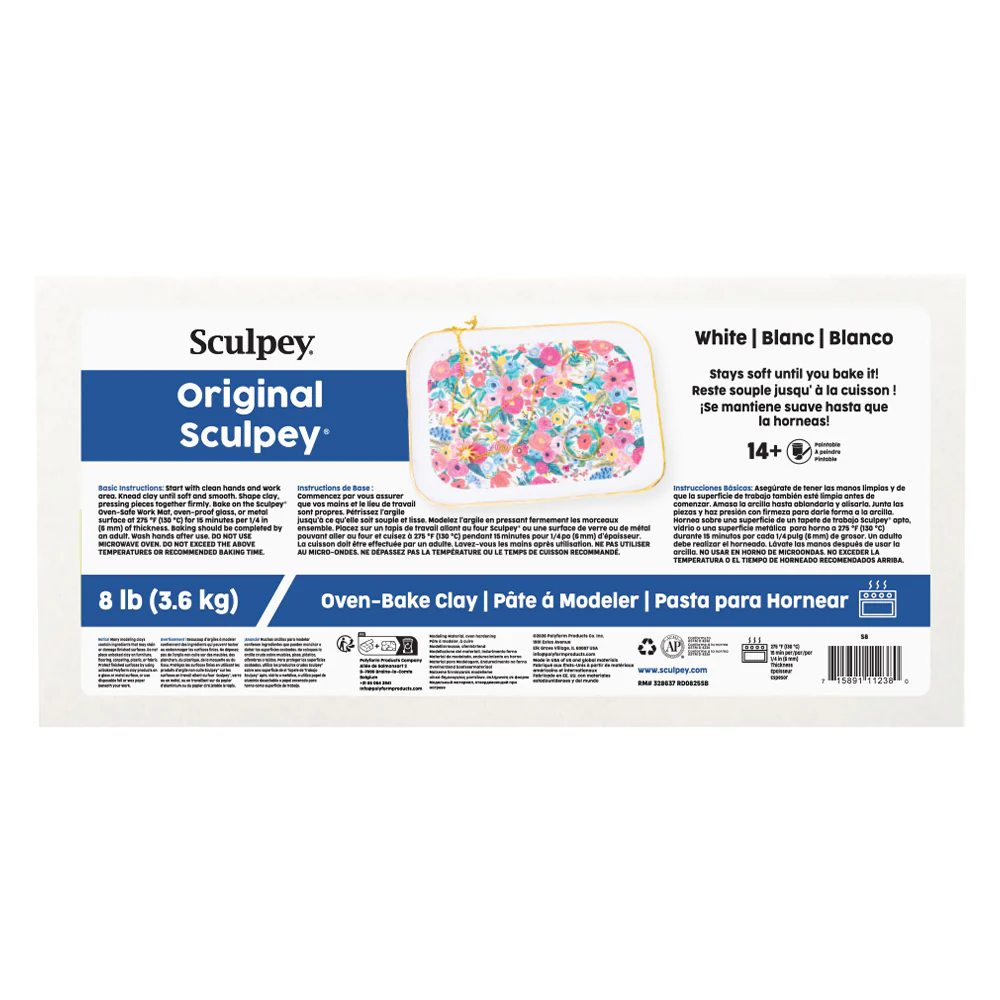


Original Sculpey®
What is Original Sculpey® and is Original Sculpey® Polymer clay?
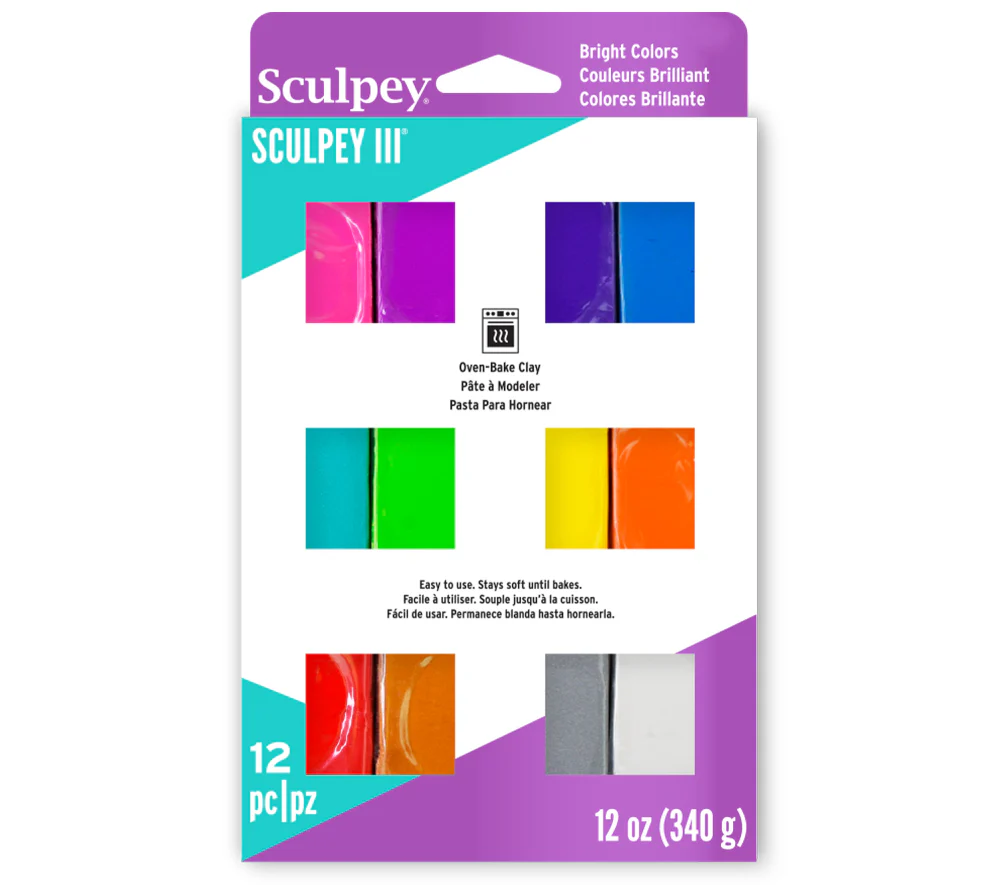
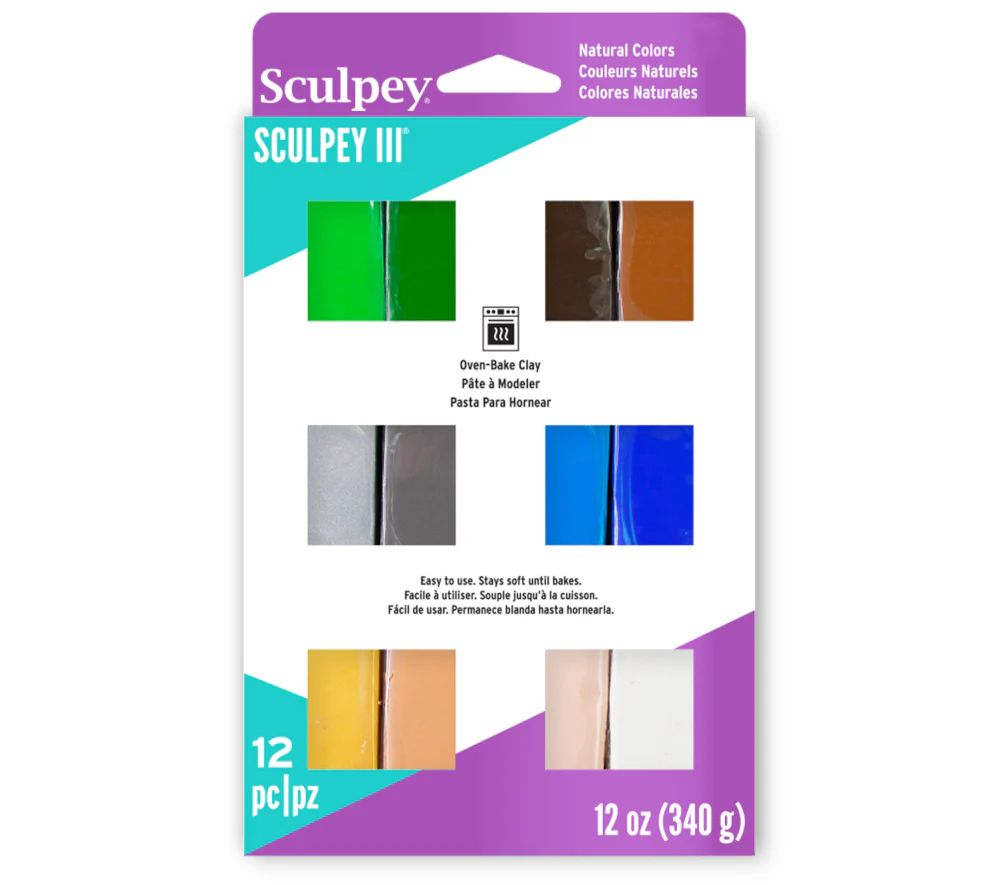
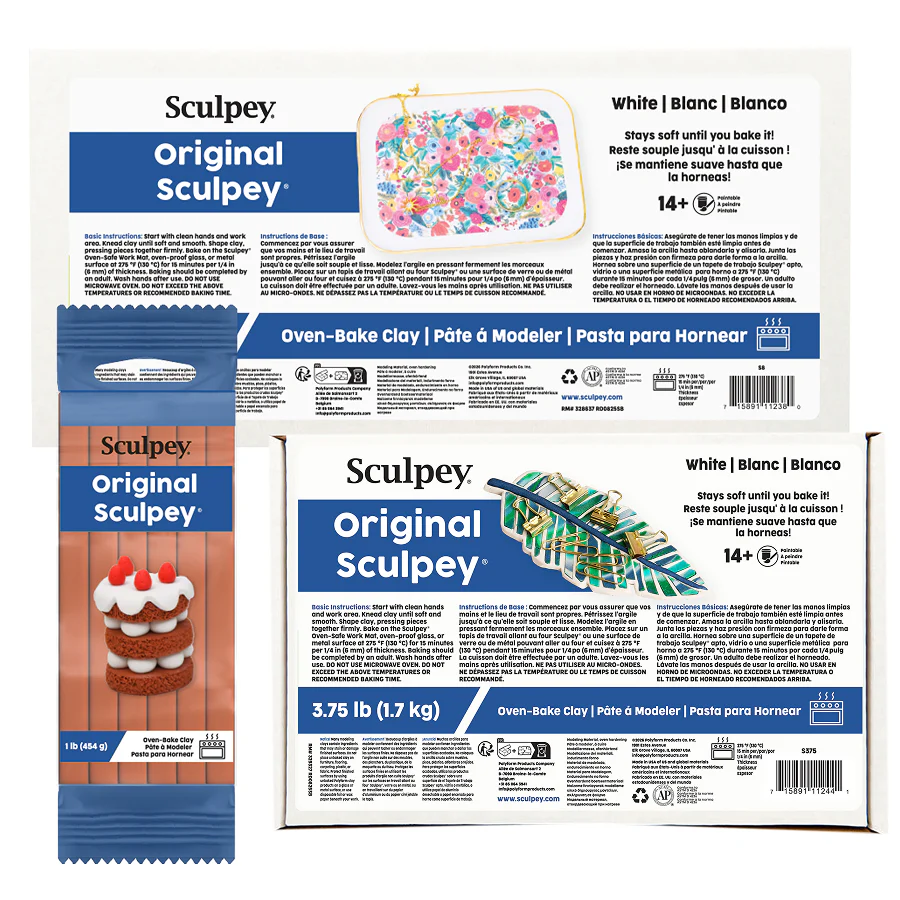
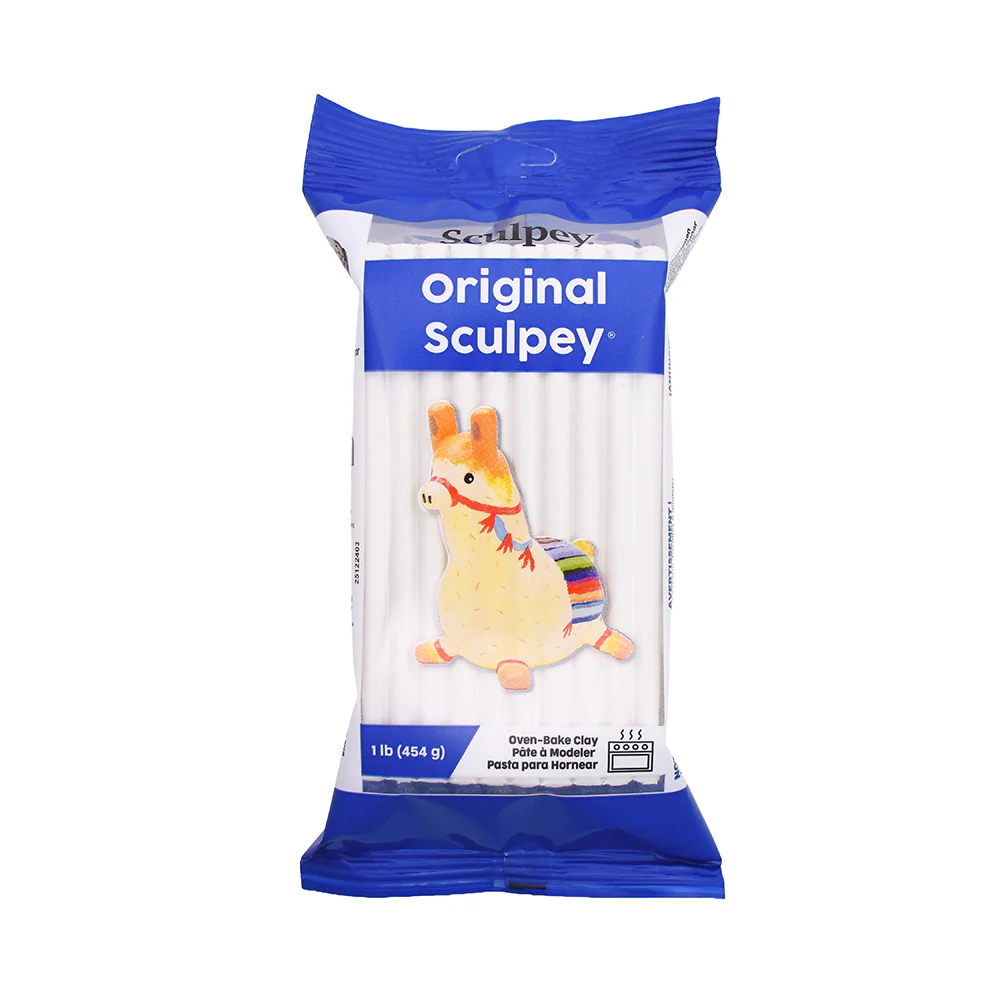
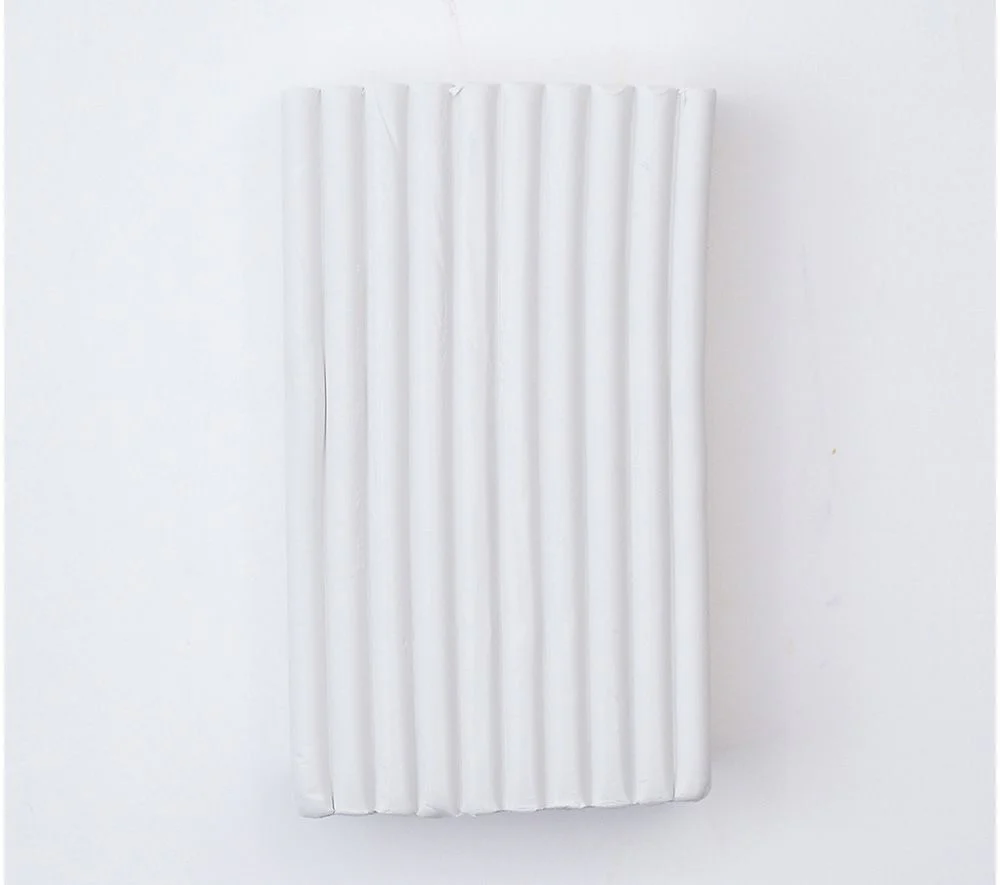
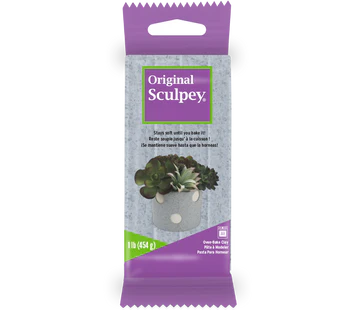
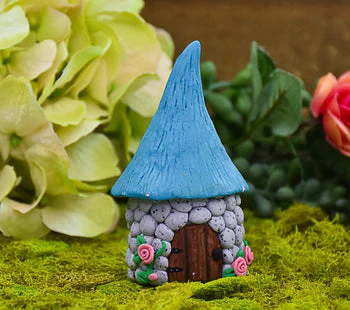
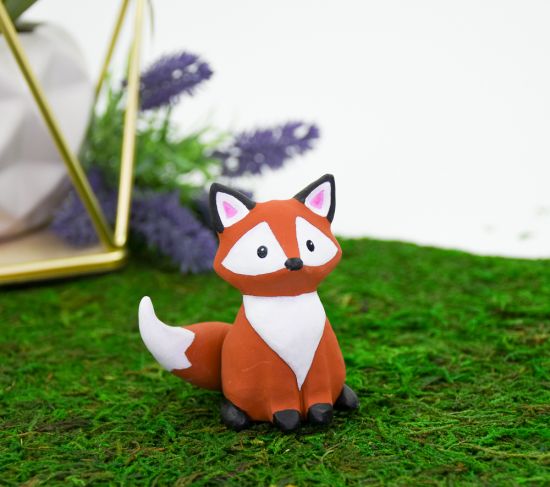
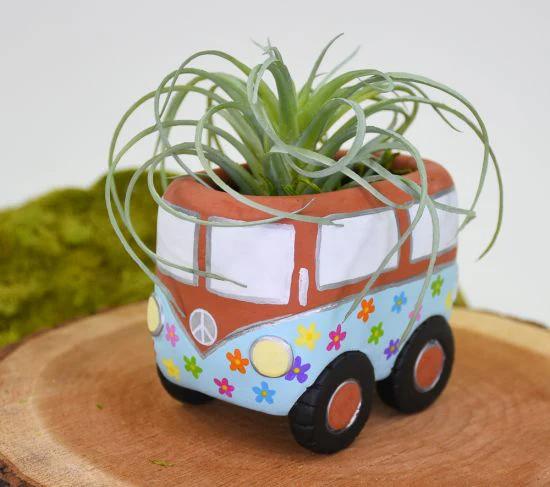
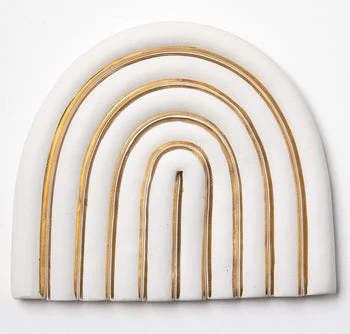
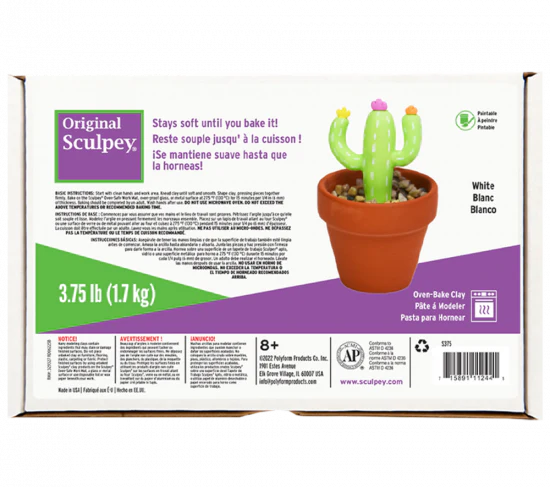
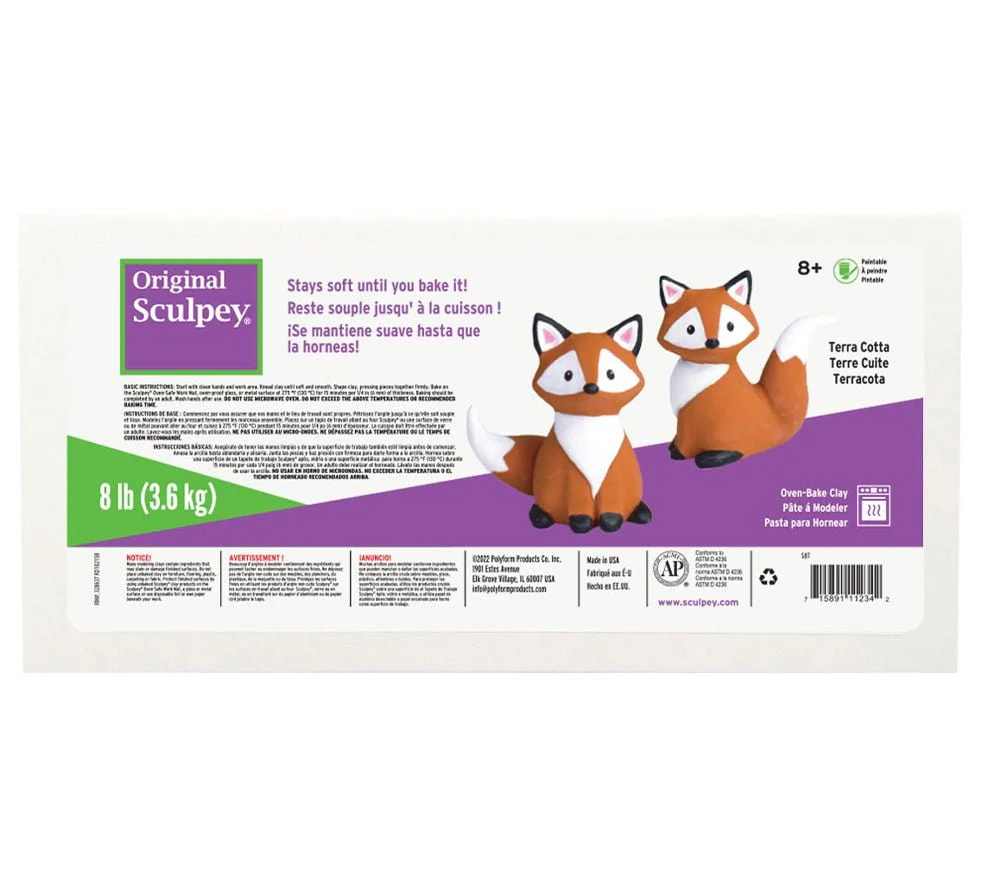
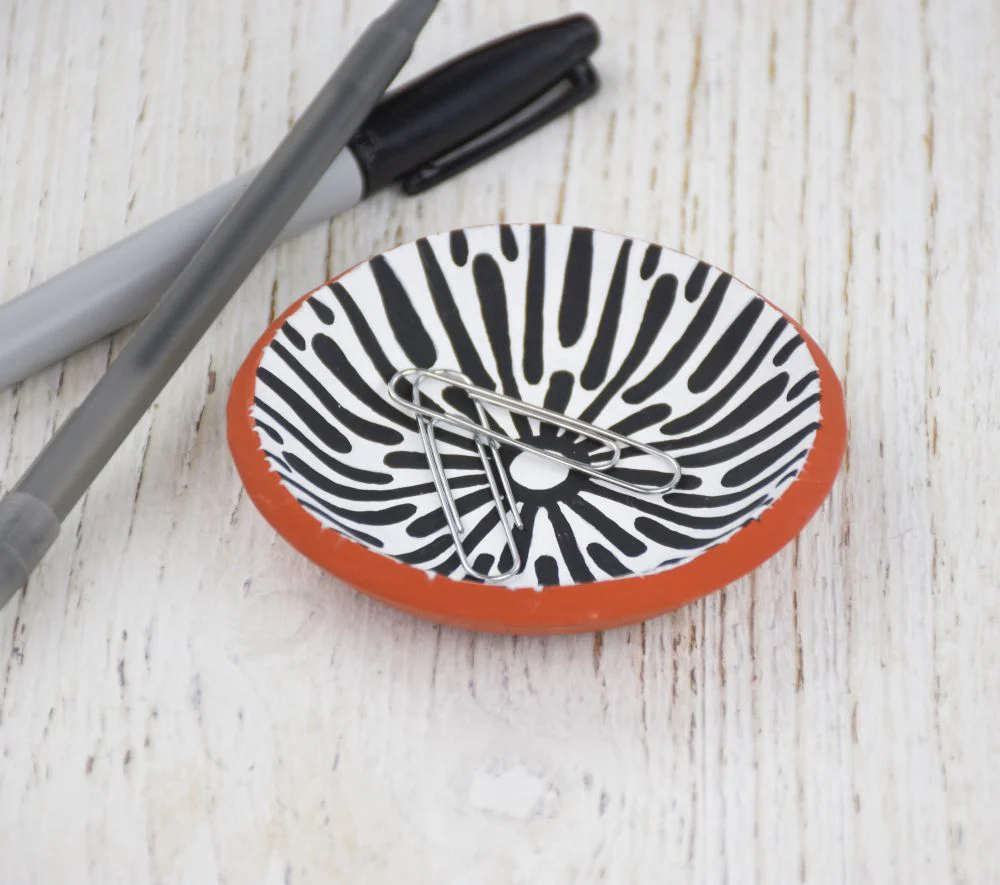
Original Sculpey® is America’s first oven bake clay. It is a versatile polymer clay that is great for both kids and beginners. Original Sculpey® is soft and easy to sculpt making it a great clay for a variety of polymer clay projects. Learn more about how you can use Original Sculpey® for your next project!
How to Bake Original Sculpey®
Before curing your Original Sculpey® oven-bake clay project, set yourself up for success with these professional claying tips:
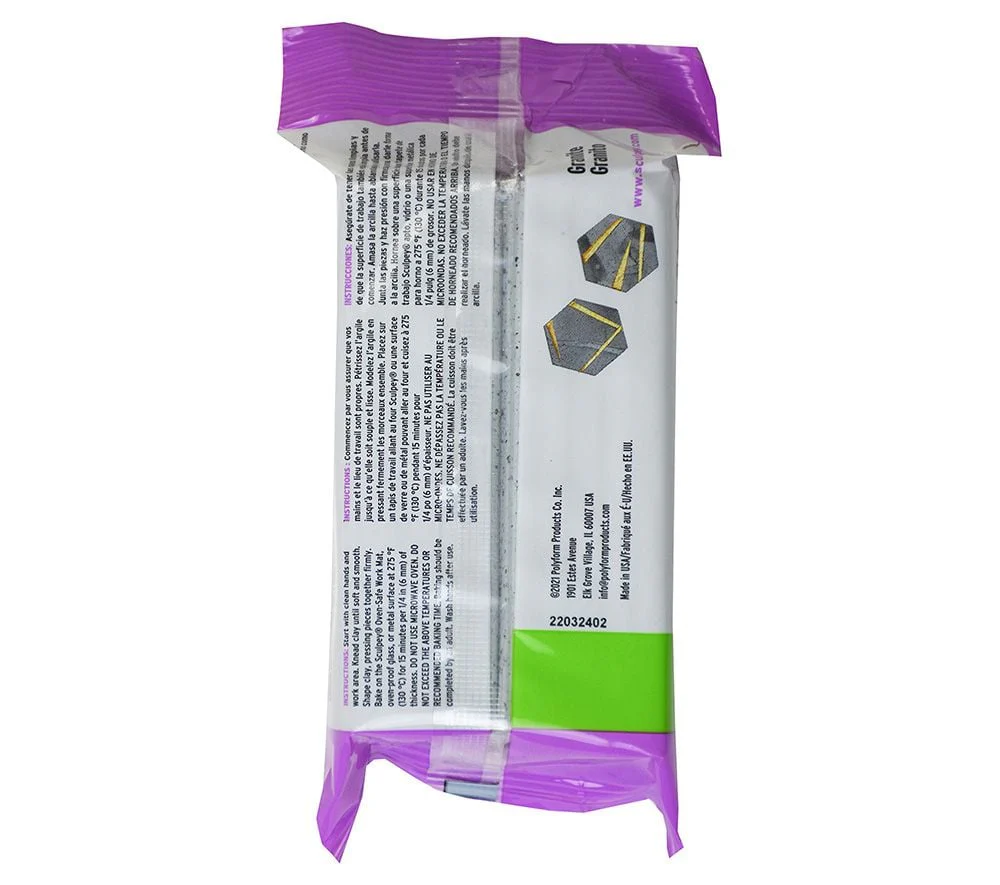
- Cover and protect your workspace: Unbaked clay may damage furniture and finished surfaces, so make sure your work area is covered. We recommend working on the Sculpey Tools™ Oven-Safe Work Mat, ceramic tile, wax paper, metal baking sheet, or aluminum foil.
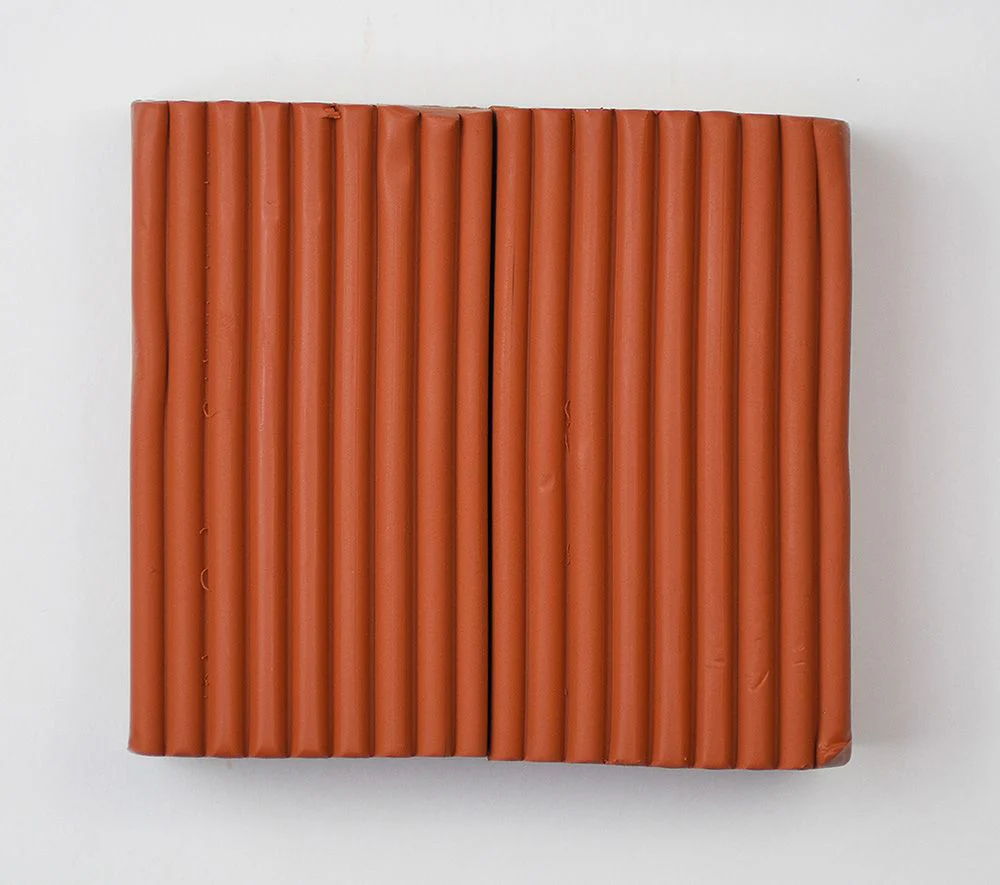
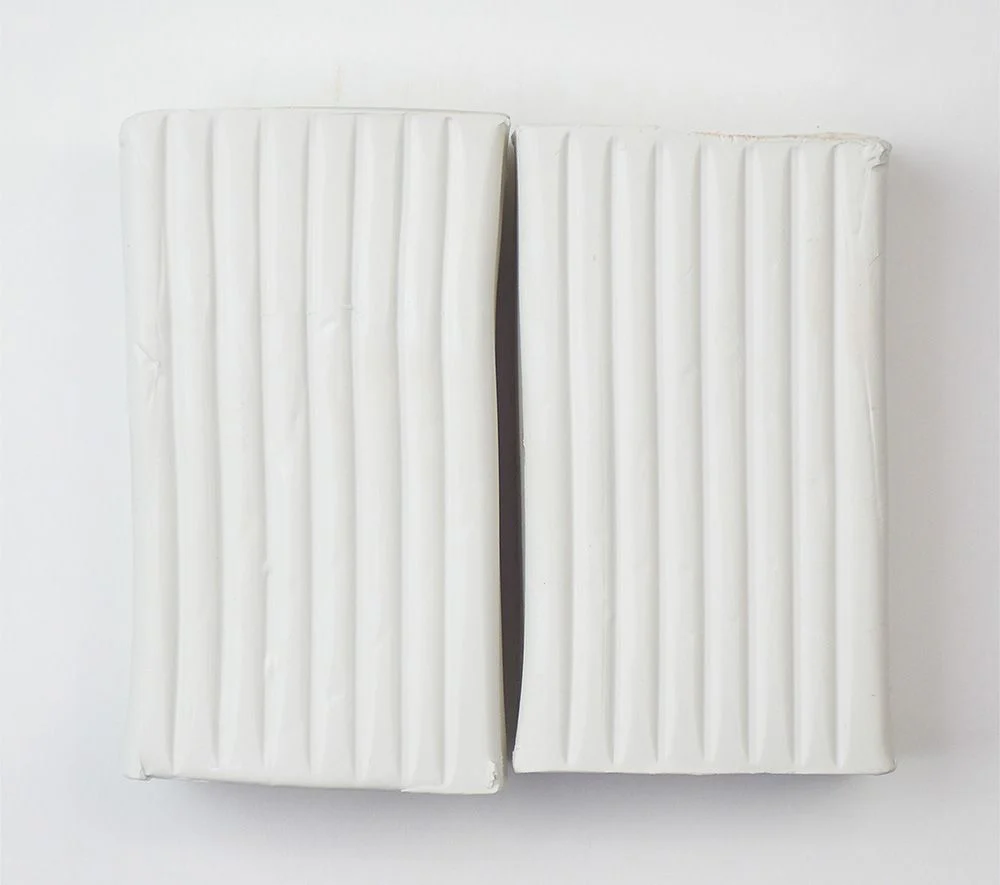
- Condition the clay for durability: Skipping the conditioning process can result in a weakened finished product and increase the risk of cracks, imperfections or breaking over time. Before diving into clay shaping, first condition the clay with our Sculpey Tools™ Clay Conditioning Machine.
- Establish a consistent clay thickness: Cracking can occur during baking if the project has areas of clay that are too thick. We recommend “bulking out” denser projects with an aluminum foil core and adding a supportive wire armature inside like a skeletal structure, especially for figures with limbs.
- Test your oven temperature: Many ovens are not calibrated accurately and are hotter than the dial's temperature setting. Use an oven thermometer to determine the correct temperature and adjust as needed. Condition and shape a 1/4 inch, or 6mm, disc of Original Sculpey® clay, then bake the test piece according to package instructions. If the clay has darkened areas after baking, your oven is too hot. Lower the oven temperature by 10 degrees and test again.
Now comes the fun part — it's time to bake the clay!
- Preheat the oven: Confirm temperature accuracy with an oven thermometer and preheat the oven or toaster oven to 275 °F (130 °C).
- Place the clay on an oven-safe surface: Transfer the project onto an oven-safe baking surface. For best results, use a piece of glass, ceramic tile or metal baking sheet with our highly recommended silicone Sculpey® Oven-Safe Work Mat. Because paper cannot catch fire at this temperature, you can safely place card stock or parchment paper between your project and the baking surface.
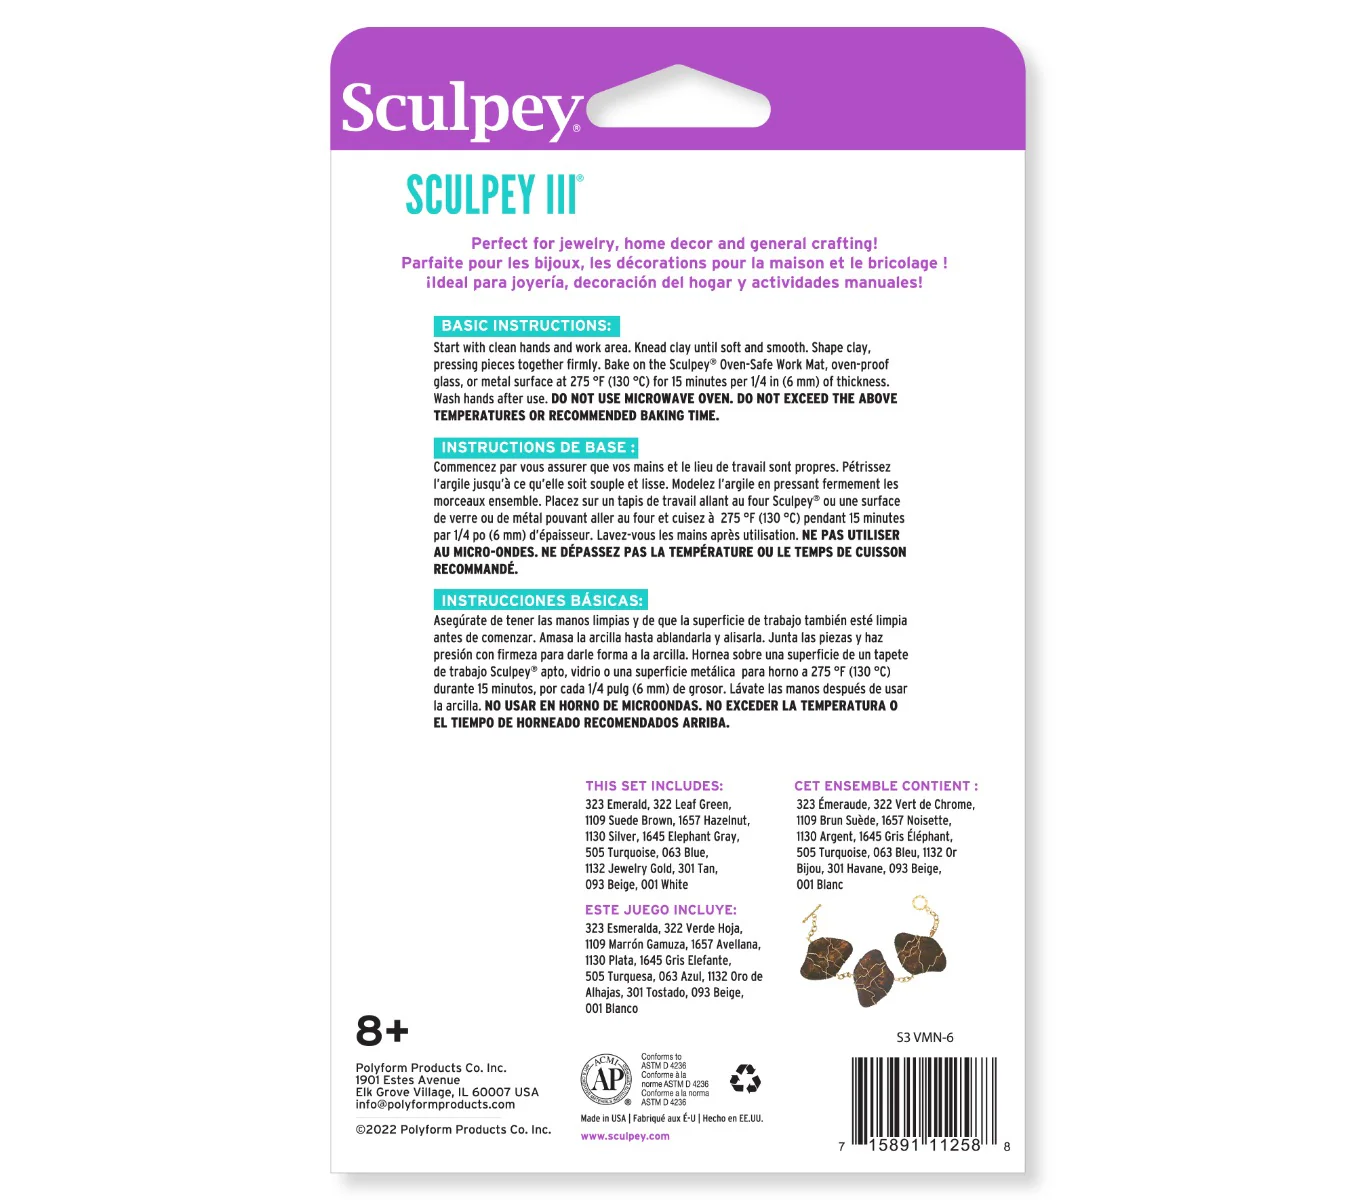
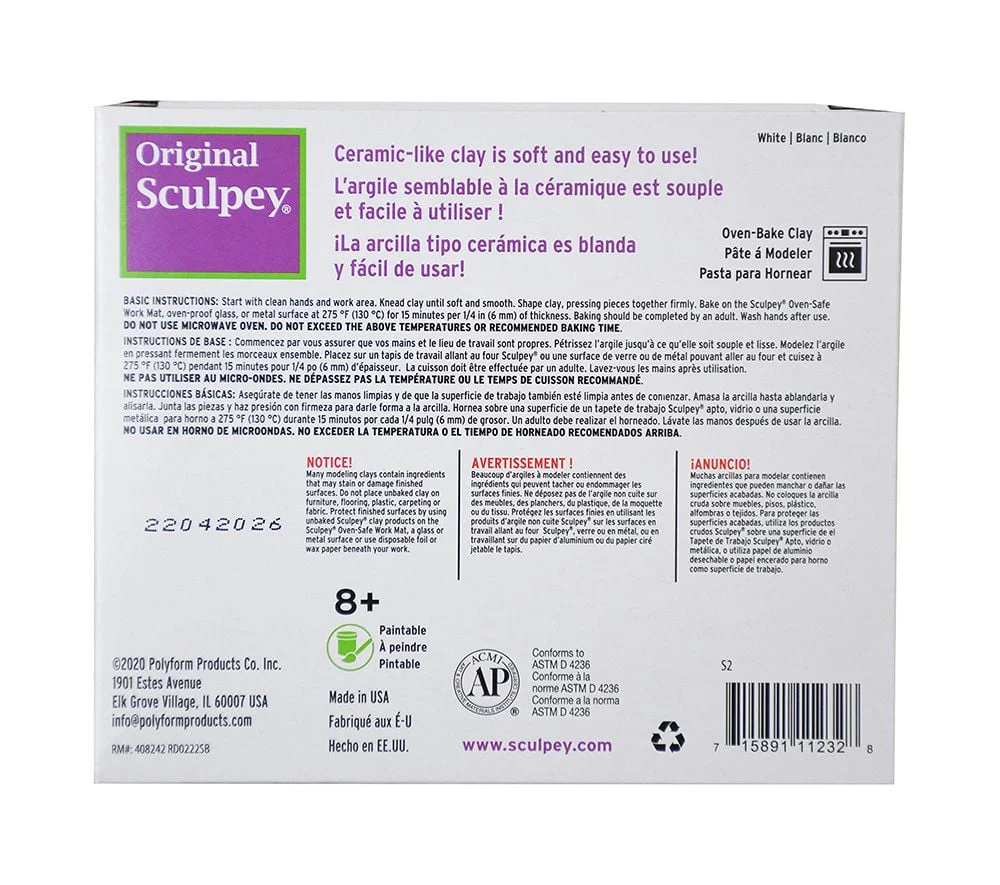
- Bake the clay: Slide your project on its oven-safe baking surface into the center rack of the preheated oven. Bake at 275 °F (130 °C) for 15 minutes per 1/4 inch, or 6 mm, thickness. For example, a 1/2-inch thick piece of clay should bake for 30 minutes.
- Test the results: Let the clay cool, then press the tip of your fingernail into the bottom of the project. The fingernail may leave a slight mark on a fully cured piece, but it should not enter the clay.
Oven-Hardening Clay Baking Tips
Follow these baking tips for best results:
- Always preheat the oven before baking the project.
- Only use a conventional oven or toaster oven, never a microwave.
- Baking should be completed by adults in a well-ventilated area.
- Always bake at the recommended temperature and baking time.
- Raw clay should not touch any surfaces also used for food purposes.
Original: $10.49
-65%$10.49
$3.67Product Information
Product Information
Shipping & Returns
Shipping & Returns
Description
What is Original Sculpey® and is Original Sculpey® Polymer clay?
Original Sculpey® is America’s first oven bake clay. It is a versatile polymer clay that is great for both kids and beginners. Original Sculpey® is soft and easy to sculpt making it a great clay for a variety of polymer clay projects. Learn more about how you can use Original Sculpey® for your next project!
How to Bake Original Sculpey®
Before curing your Original Sculpey® oven-bake clay project, set yourself up for success with these professional claying tips:
- Cover and protect your workspace: Unbaked clay may damage furniture and finished surfaces, so make sure your work area is covered. We recommend working on the Sculpey Tools™ Oven-Safe Work Mat, ceramic tile, wax paper, metal baking sheet, or aluminum foil.
- Condition the clay for durability: Skipping the conditioning process can result in a weakened finished product and increase the risk of cracks, imperfections or breaking over time. Before diving into clay shaping, first condition the clay with our Sculpey Tools™ Clay Conditioning Machine.
- Establish a consistent clay thickness: Cracking can occur during baking if the project has areas of clay that are too thick. We recommend “bulking out” denser projects with an aluminum foil core and adding a supportive wire armature inside like a skeletal structure, especially for figures with limbs.
- Test your oven temperature: Many ovens are not calibrated accurately and are hotter than the dial's temperature setting. Use an oven thermometer to determine the correct temperature and adjust as needed. Condition and shape a 1/4 inch, or 6mm, disc of Original Sculpey® clay, then bake the test piece according to package instructions. If the clay has darkened areas after baking, your oven is too hot. Lower the oven temperature by 10 degrees and test again.
Now comes the fun part — it's time to bake the clay!
- Preheat the oven: Confirm temperature accuracy with an oven thermometer and preheat the oven or toaster oven to 275 °F (130 °C).
- Place the clay on an oven-safe surface: Transfer the project onto an oven-safe baking surface. For best results, use a piece of glass, ceramic tile or metal baking sheet with our highly recommended silicone Sculpey® Oven-Safe Work Mat. Because paper cannot catch fire at this temperature, you can safely place card stock or parchment paper between your project and the baking surface.
- Bake the clay: Slide your project on its oven-safe baking surface into the center rack of the preheated oven. Bake at 275 °F (130 °C) for 15 minutes per 1/4 inch, or 6 mm, thickness. For example, a 1/2-inch thick piece of clay should bake for 30 minutes.
- Test the results: Let the clay cool, then press the tip of your fingernail into the bottom of the project. The fingernail may leave a slight mark on a fully cured piece, but it should not enter the clay.
Oven-Hardening Clay Baking Tips
Follow these baking tips for best results:
- Always preheat the oven before baking the project.
- Only use a conventional oven or toaster oven, never a microwave.
- Baking should be completed by adults in a well-ventilated area.
- Always bake at the recommended temperature and baking time.
- Raw clay should not touch any surfaces also used for food purposes.